How to Make a Zombie Face Using Photoshop
It has been for about 7 years for me to stay in Japan in summer… It’s hot hot hot everyday… So I decided to create a horror image to scare away the summer heat. I changed a normal woman face to zombie by Photoshop. Let’s try it!
[adA-en]
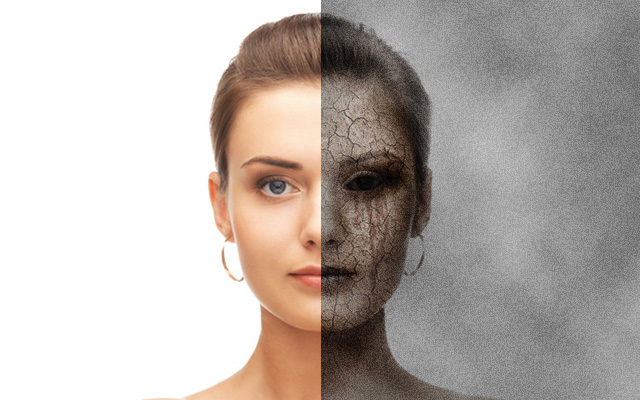
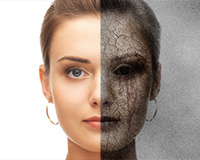
Before & After.
I made a making video. I hope it helps to see how it’s created!
1. Prepare Images
Woman

I chose a woman image from Fotolia that I always use. You don’t have to download from there, just prepare your favourite face photo.
Texture
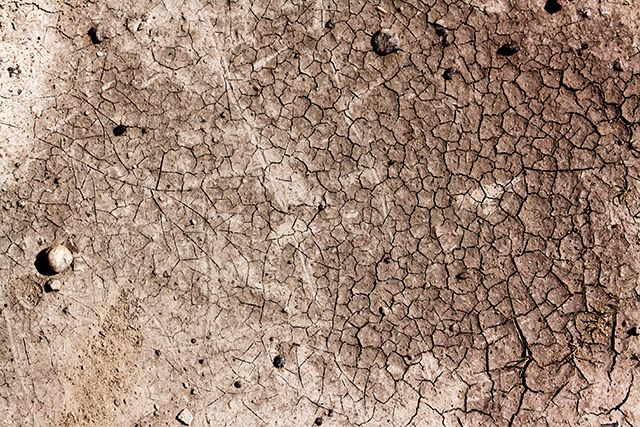
I downloaded cracked ground texture image from Free Stock Textures.
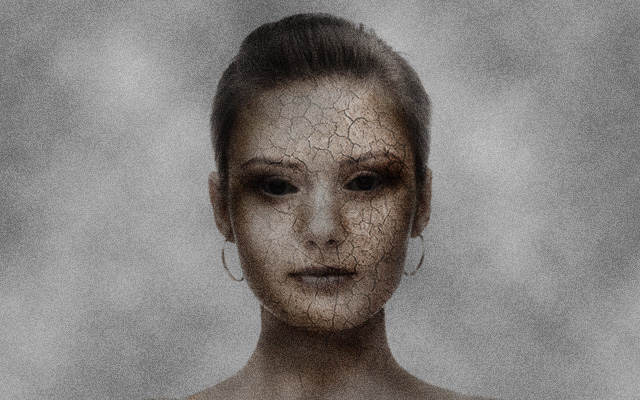
2. Skin Colour
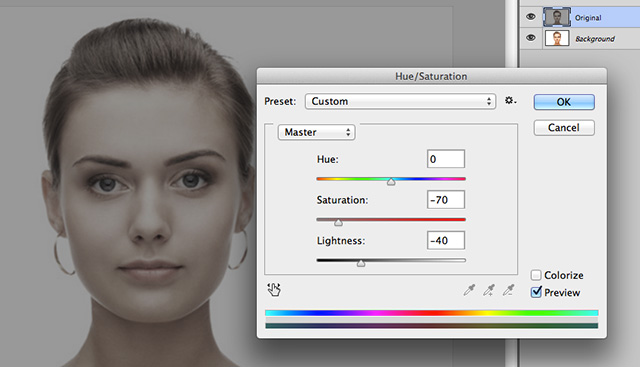
First, try to make a sick skin. Image > Adjustments > Hue/Saturation (⌘U) and set saturation -70, lightness -40.
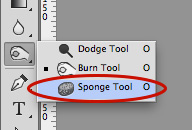
Use a sponge tool to the spot which has red/bright colour like lips.
3. Black Eyes
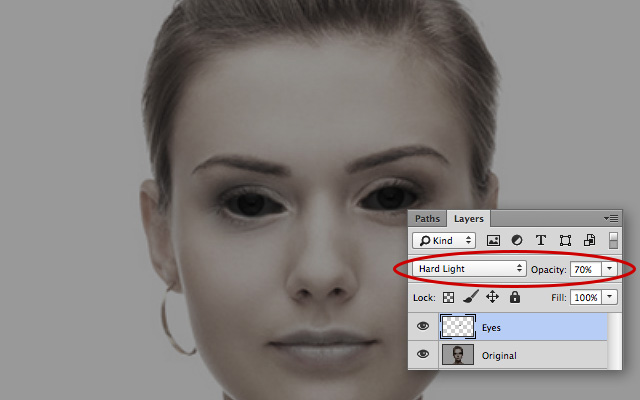
Create a new layer and fill in eyes with black colour. Set the layer blend mode to “Hard Light” and opacity to 70%.
4. Add Shadows
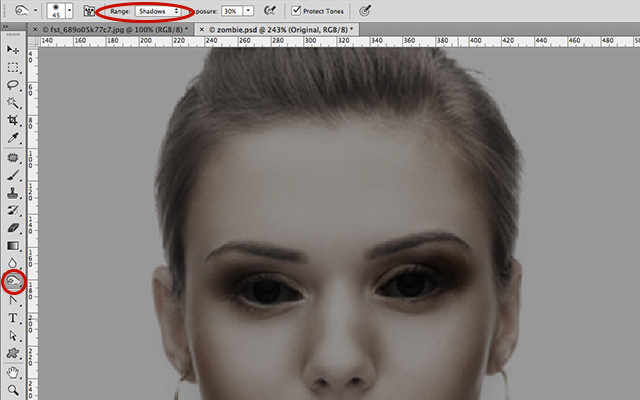
Add shadow by using burn tool. Set “Range” of tool option to “Shadows”, “Exposure” to 50%.
5. Noise
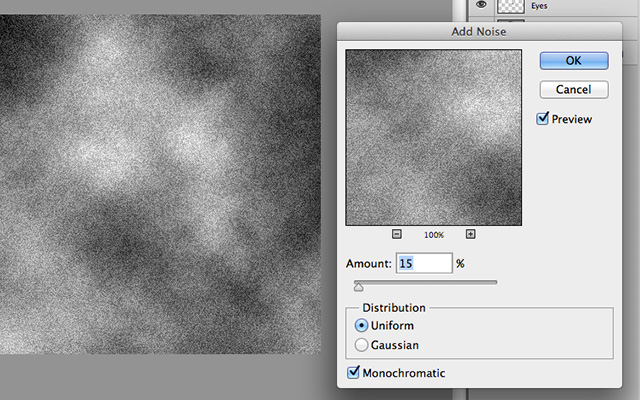
Create a new layer on a woman image. Create a cloud by Filter > Render > Clouds and add noise by Filter > Noise > Add Noise. Noise amount is 15%. Don’t forget to tick “Monochromatic”. Apply the noise by clicking on “OK” and set the layer blending mode to “Soft Light”.
6. Texture
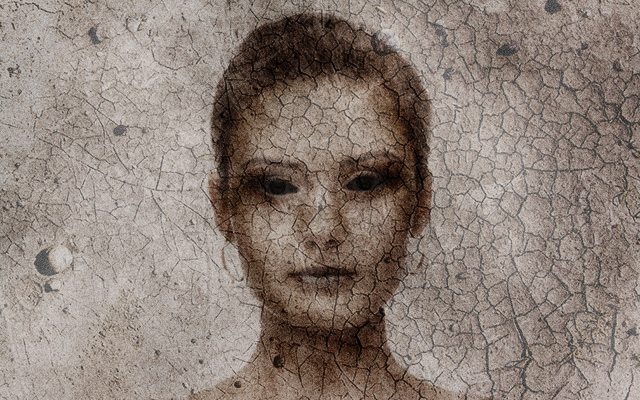
Insert a cracked ground texture image that you downloaded on the top of the noise layer. This layer blending mode should also be “Soft Light”.
Select a face and apply a layer mask. If you need, please adjust by an eraser tool.
7. Blood Tears
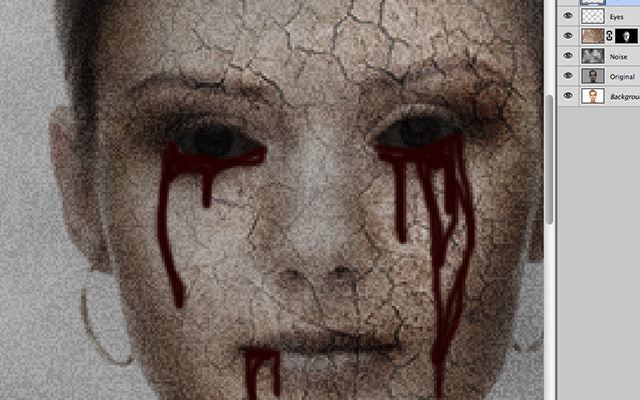
Create a new layer and put it on the top of the layers. Set foreground colour to #230000 and draw blood tears. Set the layer blending mode to “Overlay” and opacity to 30%.
Finish!
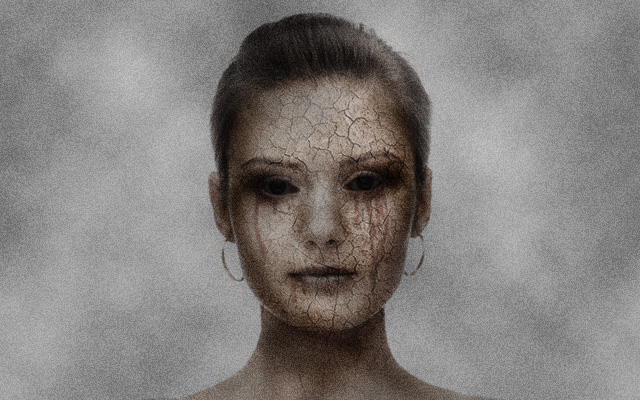
It would be also interesting using white eyes instead of black. Crop a zombie and put it into an abandoned building if you need! :)